Version Control with Azure DevOps (On-Prem) 101

My fellow Systems Administrator and I are writing more and more automation in PowerShell recently and have finally gotten around to implementing a git repository to store our code. We wanted to keep our code on premise rather than using a cloud-hosted service like GitHub, so we decided to setup an Azure DevOps server locally. Microsoft offers Azure DevOps Express which is free for teams of up to 5 users – perfect for our Sys-Admin duo plus our two developers. While I’m not going to cover how to install the server in this post, I am going to show you how our team uses this awesome software to deploy PowerShell jobs to our automation server (also on premise). This is still a new way of doing things for us and I’ve really only scratched the surface of what you can do with this platform, but hopefully this will provide some insight into how to get started using Azure DevOps in your environment.
Our “applications” are really just PowerShell scripts which we run on an automation server. We’ve traditionally just copied our scripts to a directory on this server, and then create scheduled tasks to run each script based on some trigger (i.e. an event ID). Using Azure DevOps along with git version control fulfills a few needs for our Sys Admin team:
- Gives us a central repository for our code so that we can reference and modify each others scripts
- Provides communication mechanisms to quickly request, record, and approve changes to our scripts
- Provides an efficient, consistent way to deploy code to production and role back if necesary
Creating a new project in Azure DevOps is pretty much self-explanatory – you simply click “New Project” and give it a name. If you have a project on your local file store that you’d like to copy up to that project on DevOps, you can either upload the files directly via the web interface, or clone the empty project locally and then move those files into the newly created local repository folder and “git push” up to DevOps. I use Visual Studio Code as my local code editing application which integrates really nicely with git.
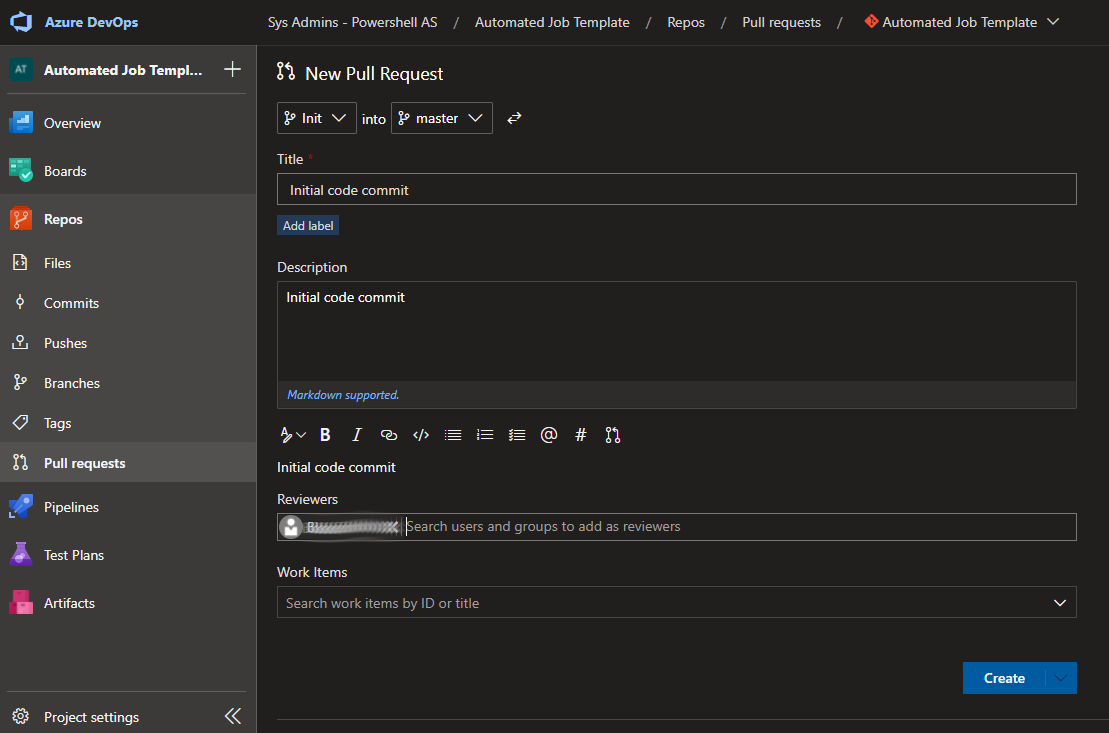
If you’re working in a team, you’ll likely want to use the pull requests feature. When you’re ready to merge your branch to master, just navigate over to “Repos” > “Pull requests” and create a new request. If you enter one or more team members in the “Reviewers” field they’ll receive an email with a notification to approve.
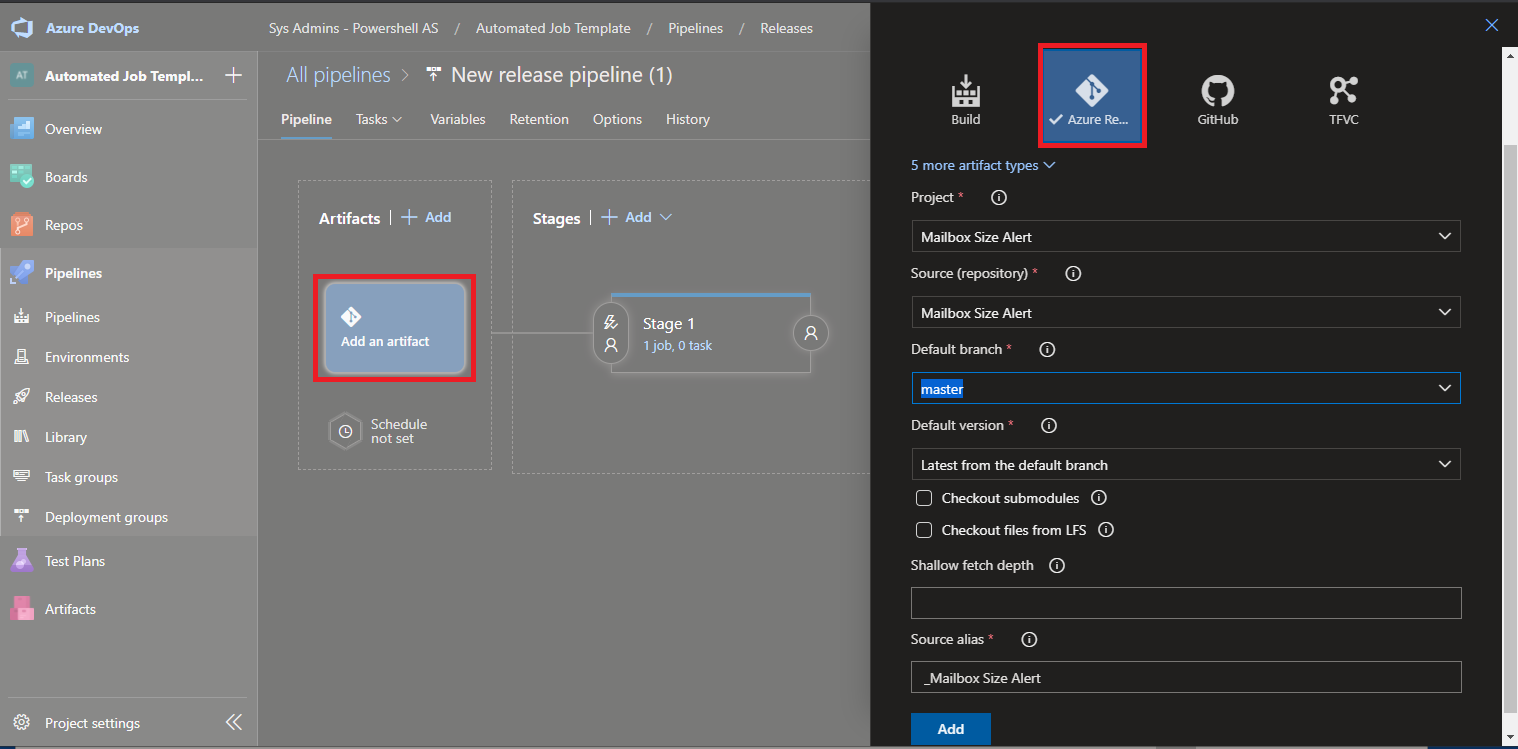
Once your code is ready to deploy, you can take advantage of the Pipelines and Releases features in DevOps. You can create deployment pipelines that are very complex with a lot of automatic building and testing steps, but for this post, I’ll outline the very basic deployment/release scenario that we use to push our PowerShell apps to our production automation server. Azure DevOps requires two main components in a release pipeline – an “Artifact” and one or more “Stages”. An artifact in this case is just the contents (source code) of the project. After creating a new empty release pipeline, click “Add an artifact” and select “Azure Repo”, then specify the project to use as the artifact.
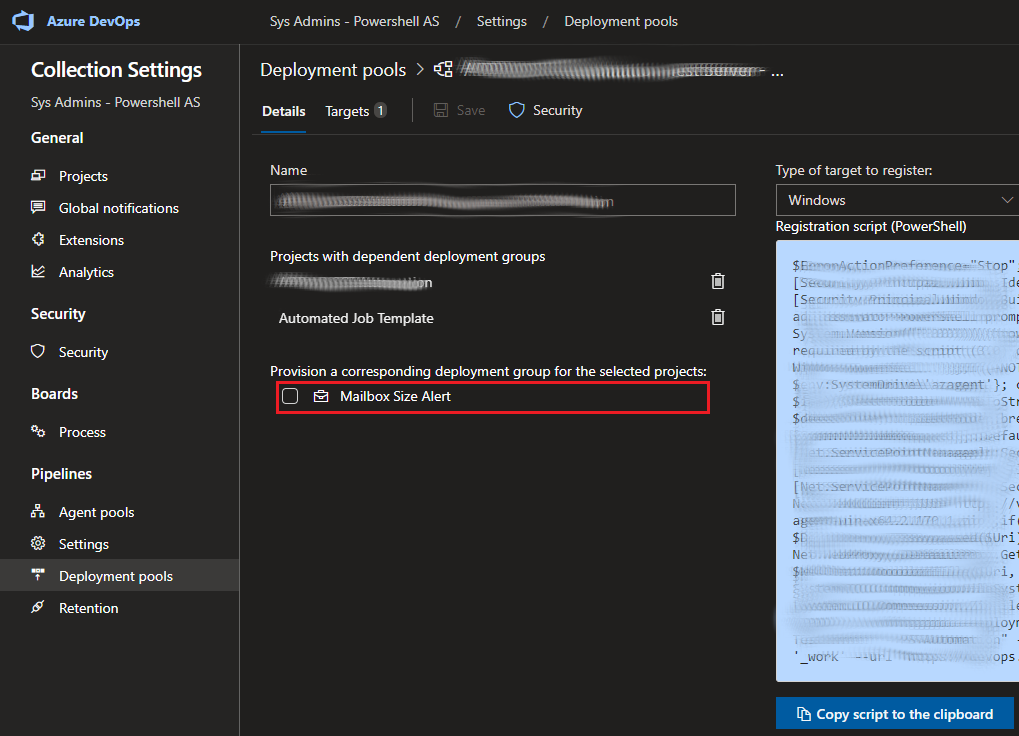
Once you’ve specified an artifact, you can start adding jobs and tasks to the first stage of the release pipeline. The default job in the default stage should be an “agent job”. There are three types of jobs in Azure DevOps – agent jobs, deployment group jobs, and agentless jobs. In our environment, we configured a deployment group containing just the production automation server. Both the agent and deployment group jobs involve running the job on one or more servers with an Azure DevOps agent application installed on them. To install the agent on a server and add it to a deployment pool, navigate to Collection Settings > Deployment pools and add a new deployment pool. The deployment pool details page will provide you with a registration script in either PowerShell or Bash (depending on the OS). To register the server with the deployment pool, you just need to run the script on the server. Finally, navigate back to the details page of the deployment pool on DevOps and check the box next to your project to associate the project with the deployment pool.
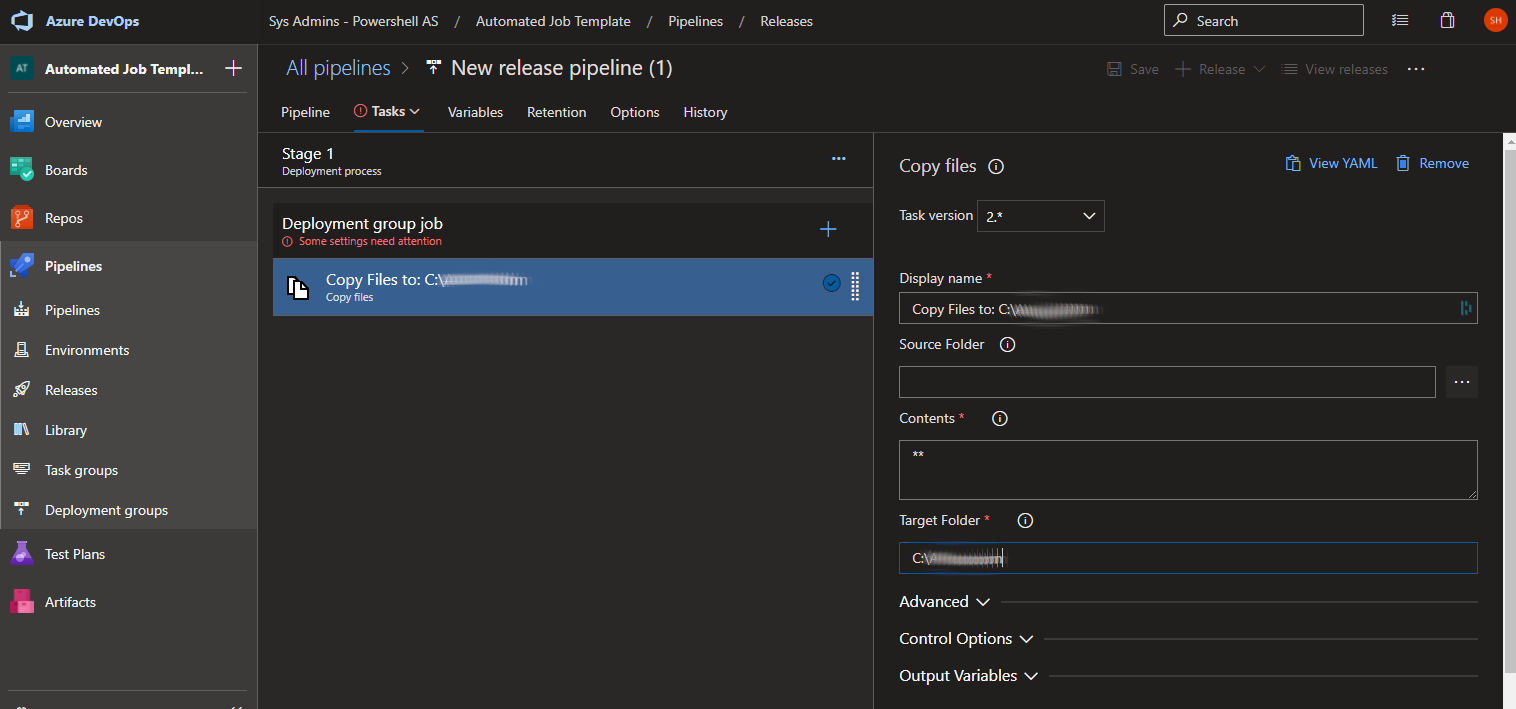
With our deployment pool created, we can head back to our project’s release pipeline and replace the default agent job with a deployment group job specifying the new pool. Within this job, you can add one or more tasks. Azure DevOps has dozens of predefined task templates for performing all kinds of deployment automation. To push the code to our automation server, we use the basic “Copy files” task to copy the files from the project to the server. All you really need to specify in the task configuration is the Target Folder.
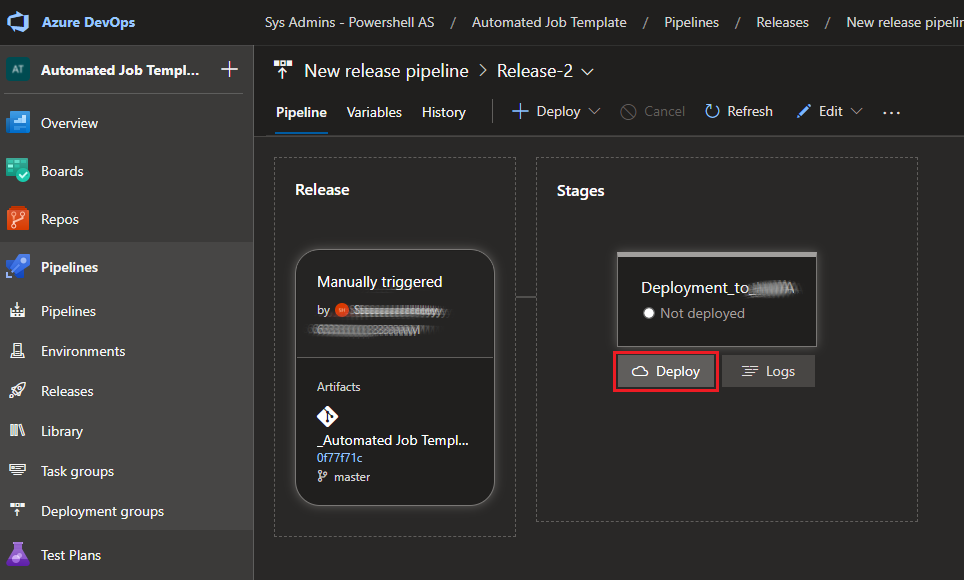
Now that the release pipeline is ready, we can deploy our first release. It’s as simple as clicking “Create release” and then “Deploy”. If all is configured correctly, it should create a directory in the specified target folder on your server containing the project files. This concludes our very basic deployment scenario – you’ll repeat the previous steps to deploy changes. If you need to quickly roll back a deployment, you can simply redeploy the previous release.
There is obviously a LOT more you can do with Azure DevOps, but hopefully this will get you started if you are still new to the platform or git version control systems in general. The next step for us will be to incorporate some automated testing – maybe to halt the deployment if there are any errors thrown after executing the script. I’ll be sure to post again when we get there!